UPDATE 2023: This method no longer works as Apple patched some vulnerability. The symlink doesn’t work, but you can still copy & paste the folder to an external hard disk.
Backing up your iPhone & iPad to your mac has one big issue – it takes up hell lot of disk space!
It is more cost efficient to backup on an external hard disk, but Apple does not make it an easy option. So this is a guide on doing that.
Step 1 - Locate the Folder
After you connect your iPhone to Mac, run the backup, and you will be able to find them in ~/Library/Application Support/MobileSync/Backup.
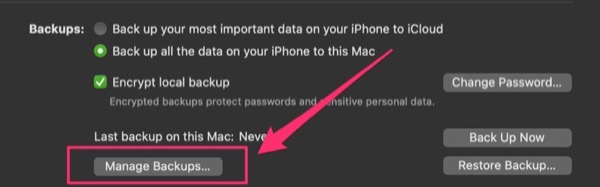
If you’re not sure where that path is, you can click on Manage Backups > Right click on a device > Show in Finder.
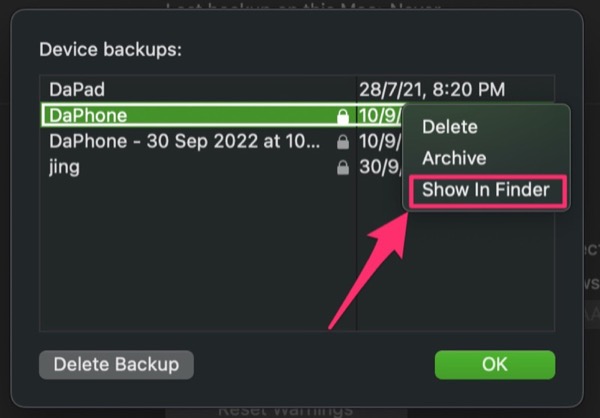
Each device backup has it’s own folder, and I will use my device folder “00123-ABCDE” as an example.
Step 2 - Move to External Drive
Simply copy and paste the entire folder to your external drive.
Eg. My external drive will have /Volumes/MyExternalDrive/mobile-backups/00123-ABCDE
Then delete the Mac folder in ~/Library/Application Support/MobileSync/Backup/00123-ABCDE
Step 3 - Symlink
This step is the most complicated, as you need to open your your Terminal/iTerm app, and run a command.
In order to do that, you have to give Full Disk Access to Terminal/iTerm app.
Open System Settings > Privacy & Security > Full Disk Access > Enable for Terminal/iTerm.
Then run this to link the 2 folders:
ln -s /Volumes/MyExternalDrive/Mobile-backup/00123-ABCDE ~/Library/Application\ Support/MobileSync/Backup/00123-ABCDE
This will create the alias folder on Mac.
Run backup again, and this time it will use the the symlink-ed folder in the external hard disk.
You will also want to disable “Automatically sync when this iPhone is connected”. When you connect the external hard disk, then manually sync.